Step 1: Register for Proview via MyDHL+
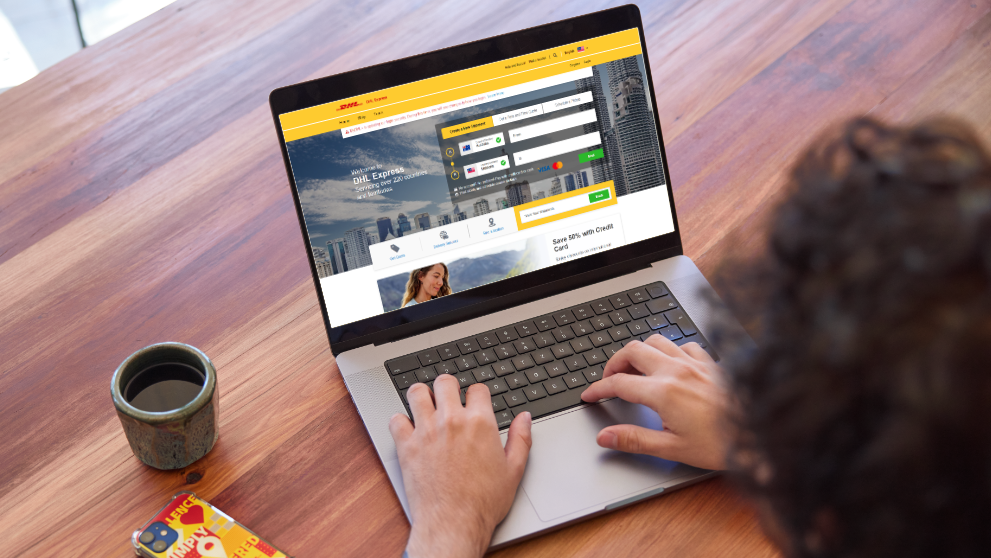
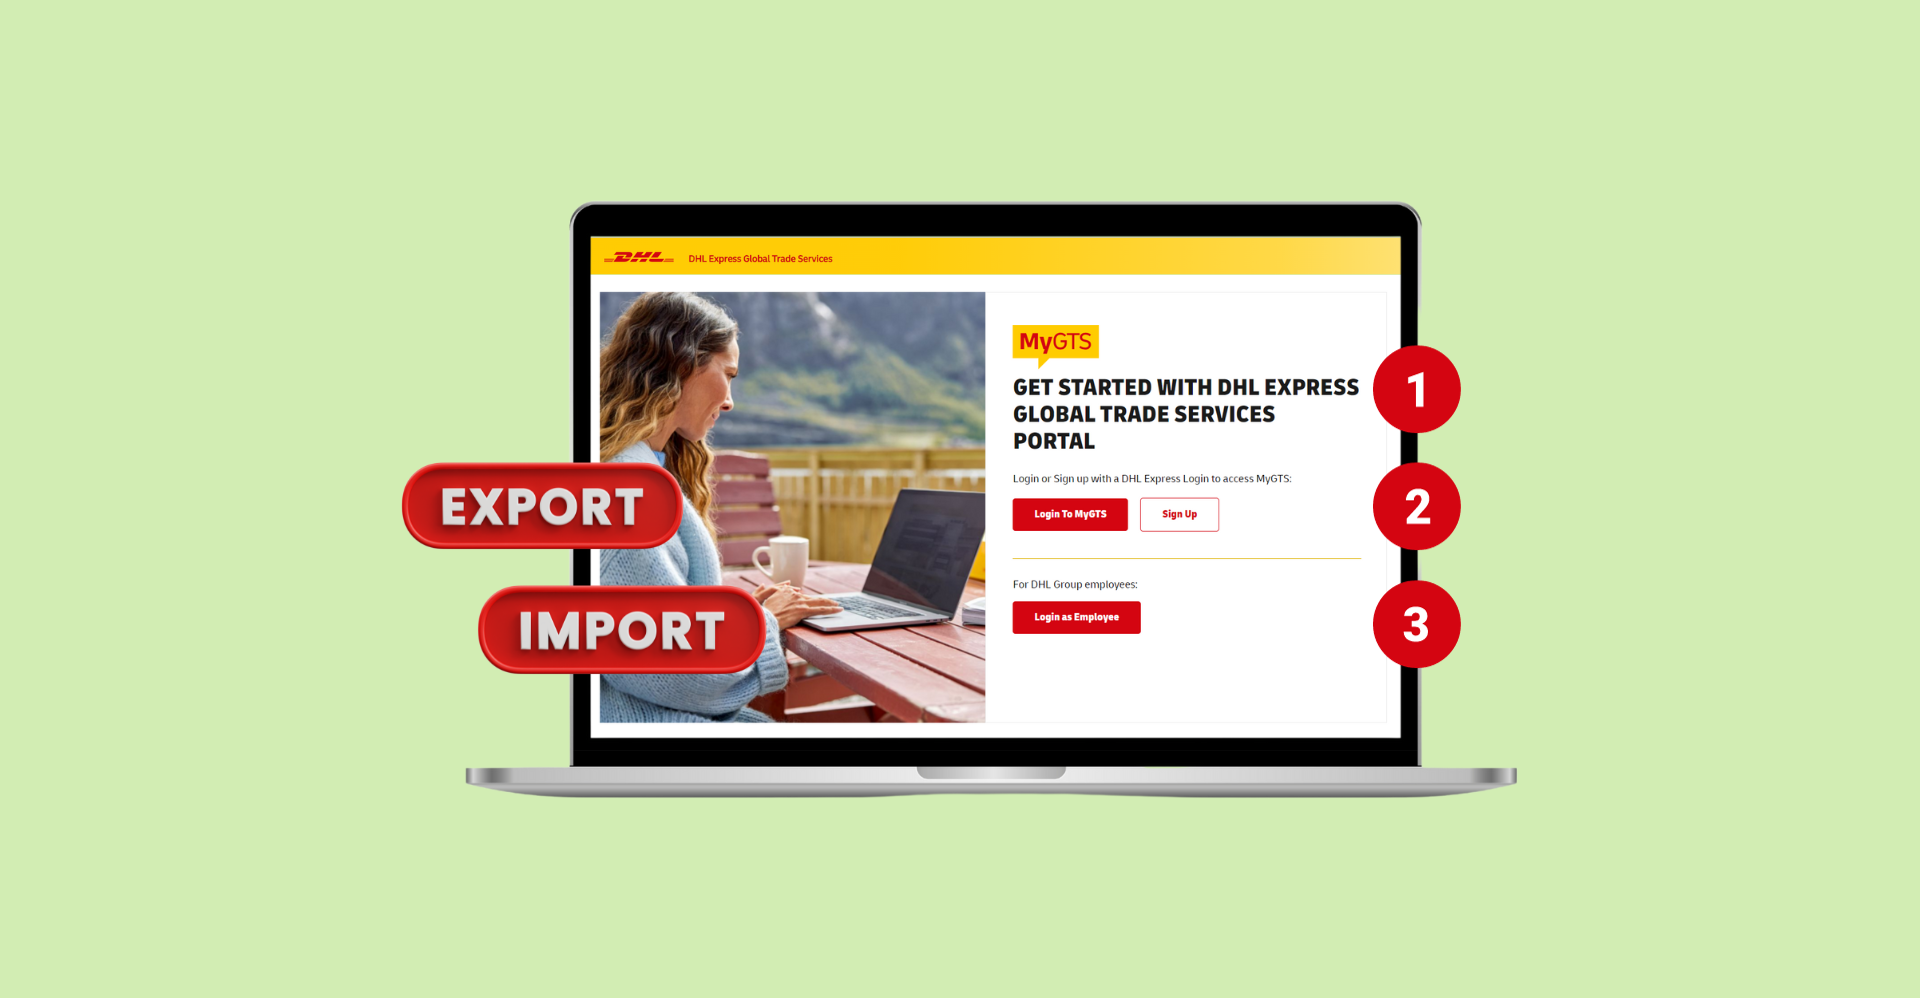
1.1 Login to MyDHL+
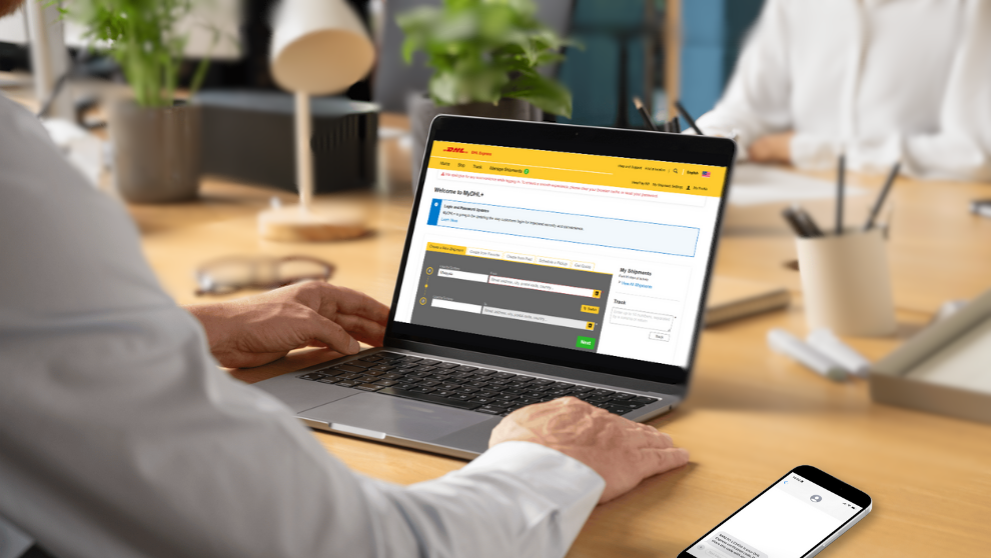
Go to MyDHL+.
- Click 'Login' at the top right corner of the page.
- Enter username.
- Enter password.
- Click 'Login'.
Note: Skip to step 2 if a Proview account is already set up.
1.2 Register for Proview
Once login, click 'Register' on the top menu bar.
1.3 Create Proview Account
Input DHL Express account details:
- Select 'Yes' to indicate you have a DHL Express account number.
- Enter account number.
- Enter name.
Step 2: Access Proview
- Click 'Track' on the top menu bar.
- Select 'Monitoring and Notifications'.
Step 3: Add or Edit Account on Proview
- Click 'Manage Account' on the left sidebar
- Add account number to the 'Account Number' field
- Enter pin number
- Click 'Add'
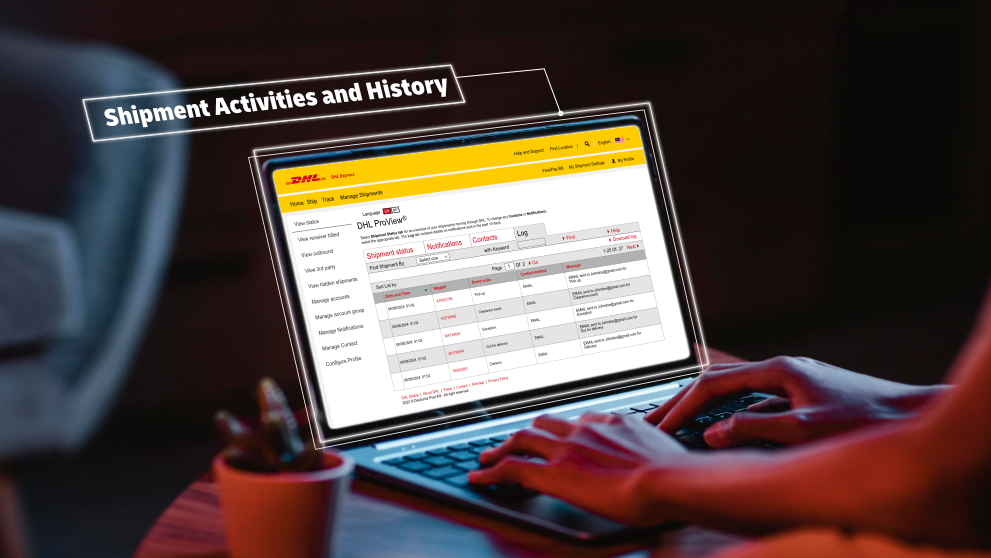
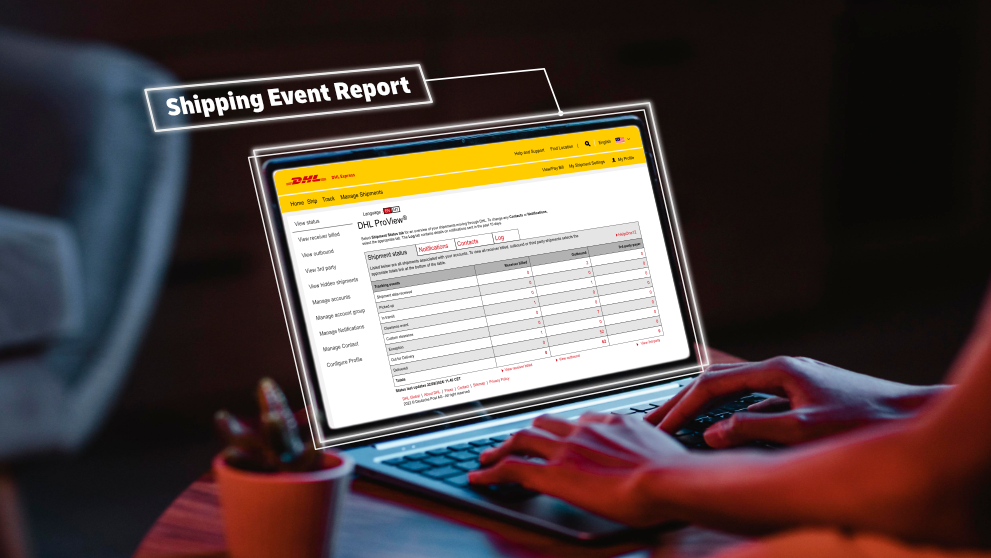
Step 4: View the Summary of Shipment Event
- Click 'View Status' on the left sidebar.
- Click 'Shipment Status'.
- View all shipment events
Shipment events are categorized by shipping status, each with its own specific meaning:
| Status | Meaning |
| Shipment Data Received | Shipment has been created. |
| Picked Up | The shipment has been picked up from the shipper. |
| In Transit | The shipment is moving between origin and destination in the DHL Network. |
| Clearance Event | The shipment is in customs clearance process. |
| Customs Clearance | The shipment has been cleared through customs. |
| Exception | Checkpoints indicate that the shipment’s progress has been impacted (e.g. shipment refusal, bad address, etc.). |
| Out for Delivery | The shipment is with the DHL courier for delivery. |
| Delivered | The shipment has been delivered to the destination address. |


